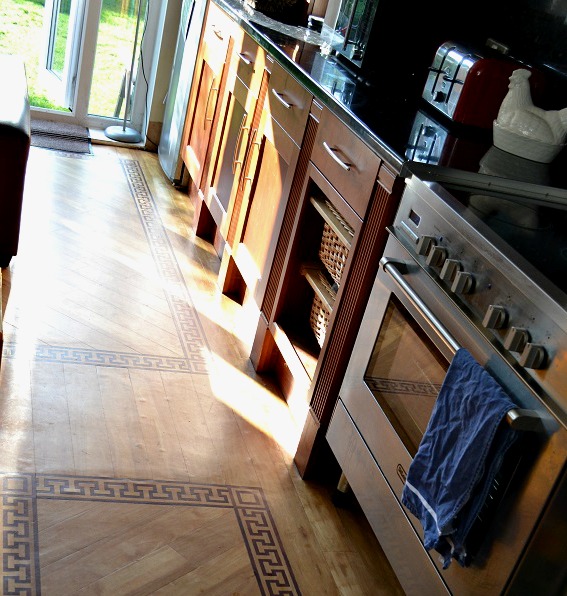
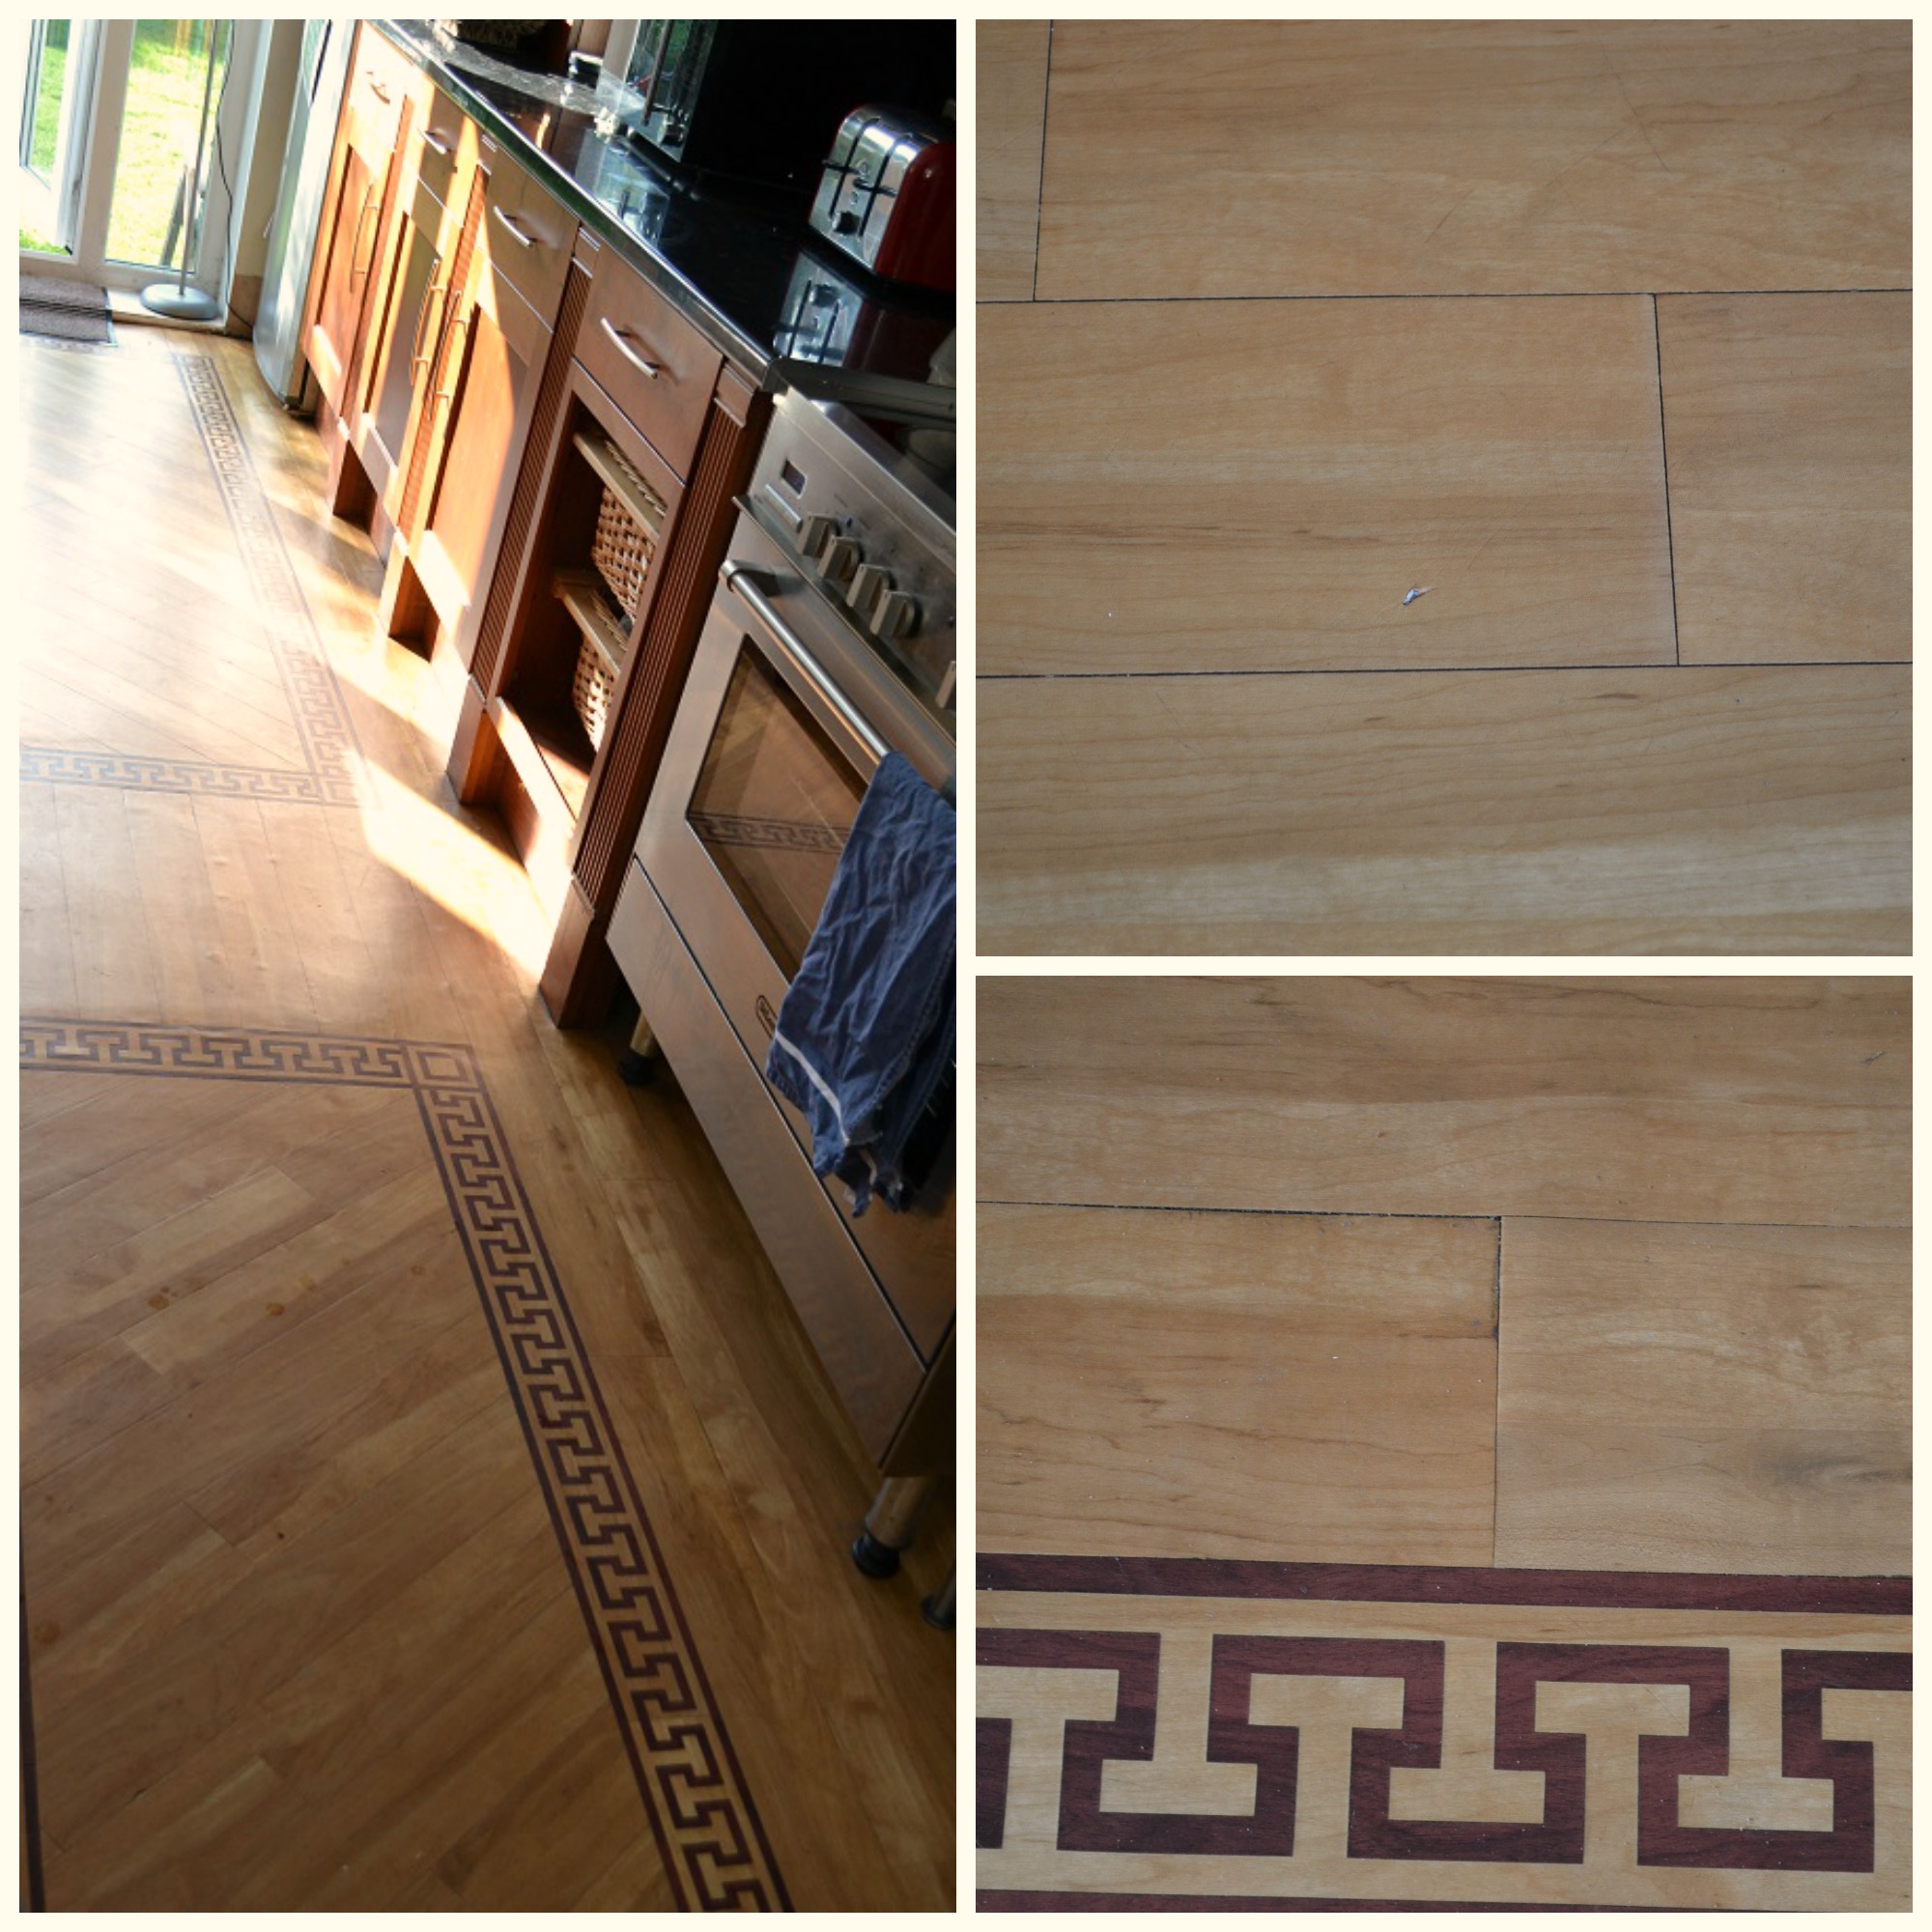
In the kitchen we have a Karndean floor, which is a customisable, luxury vinyl that comes in a wide variety of colours, textures and finishes. It is bonded to the floor in pieces or ‘planks’ and can have some very intricate designs inlaid if desired.
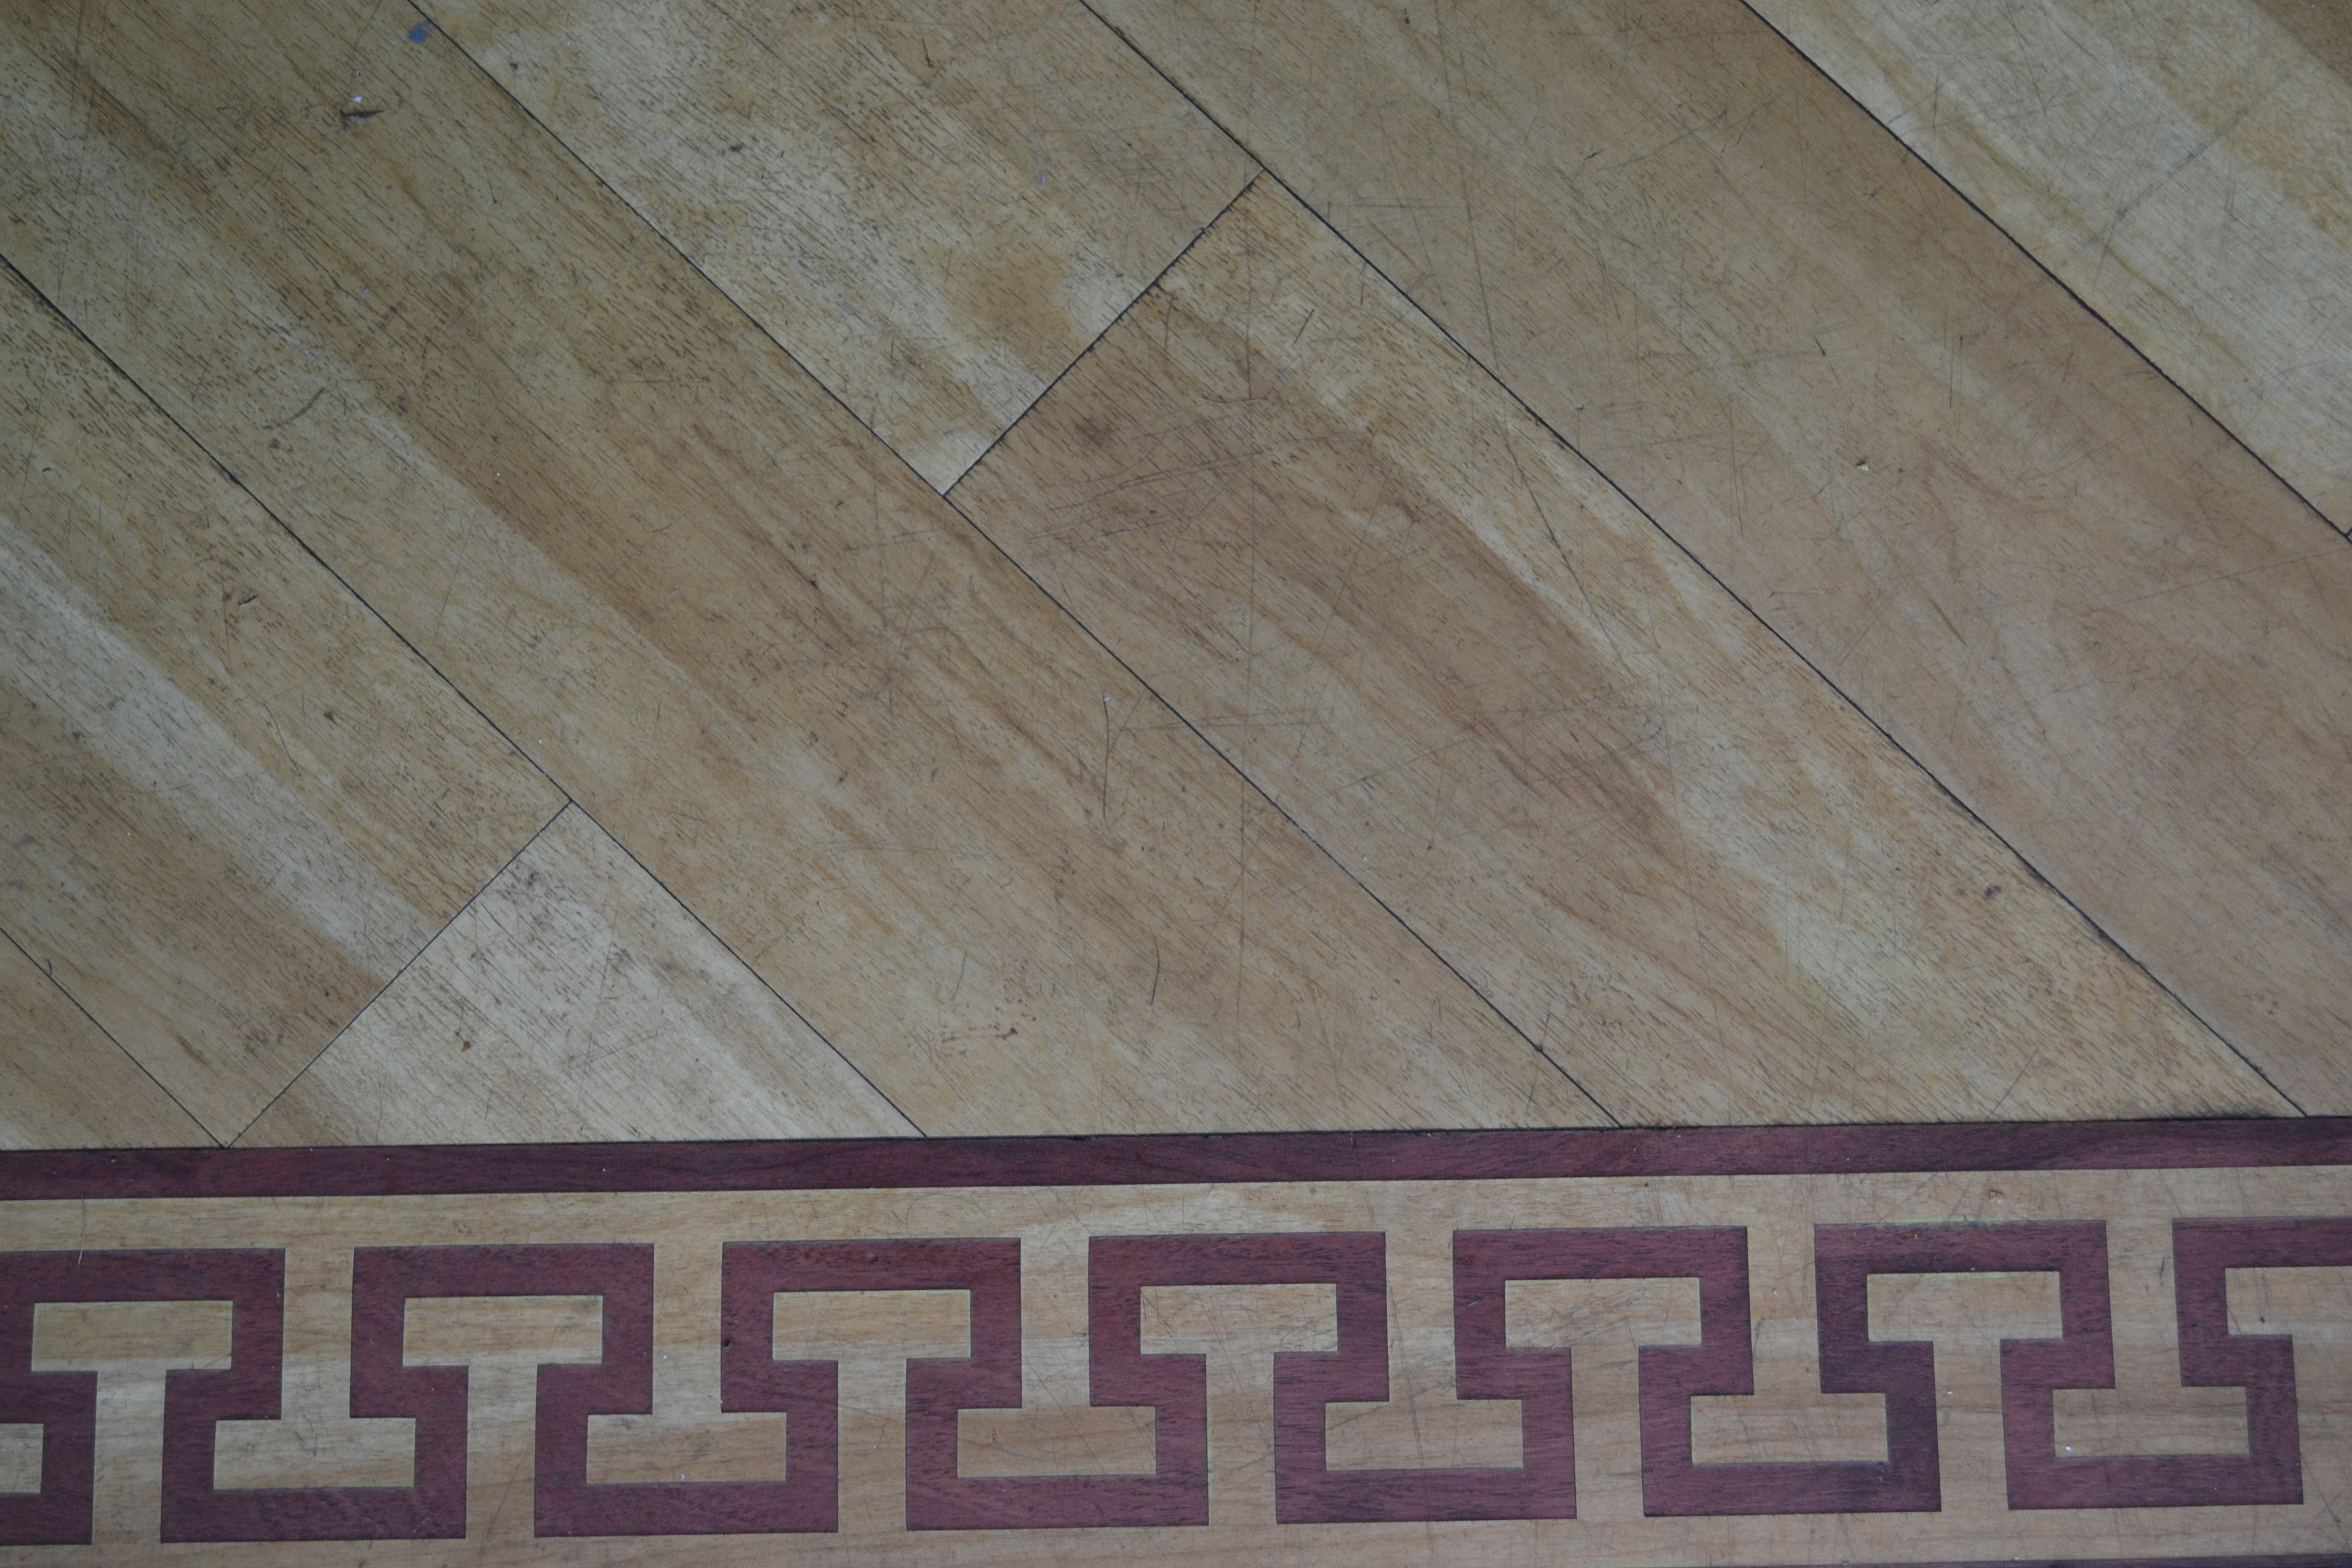
Our floor is a warm oak effect with a border in a Greek key design.
Previous owners had the floor installed at the same time they put in the kitchen, so we are talking about 11 years ago.
All these years on, it is still going remarkably strong, considering we are a family of five with three boisterous boys aged 11, 7 and 5. It takes a daily pounding from all of our feet, but all we ever do to ‘maintain it’ is sweep it and mop occasionally.
It has survived the daily stampede well and still has lots of life in it.
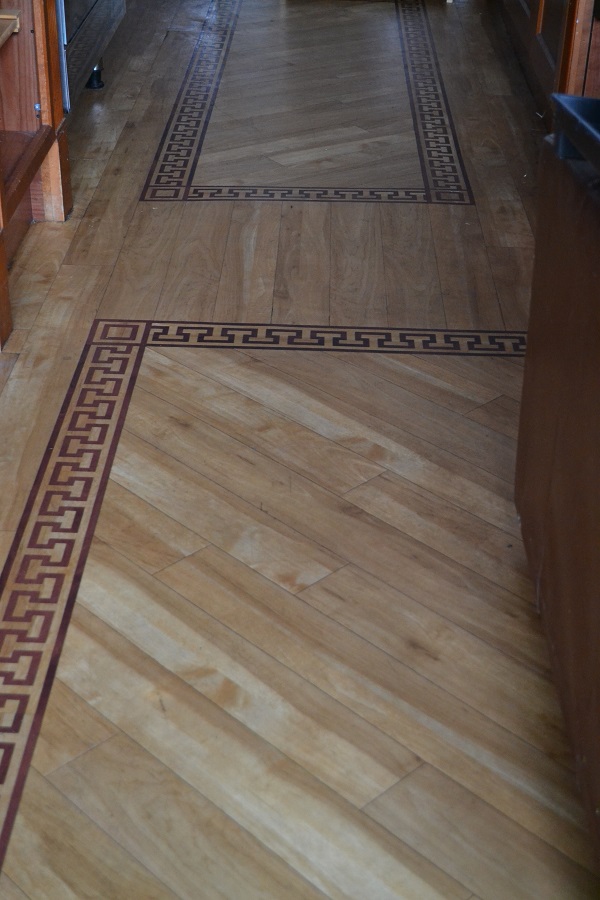
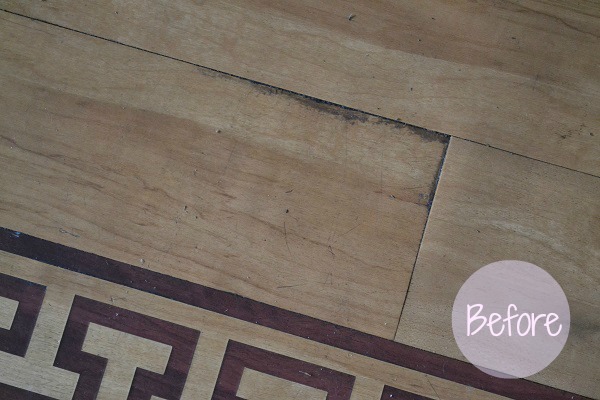
But although it is hard-wearing, it shows some signs of age with inevitable dings, scratches and scuff marks. The surface has become dull over time and a little greyish, with no sheen at all.
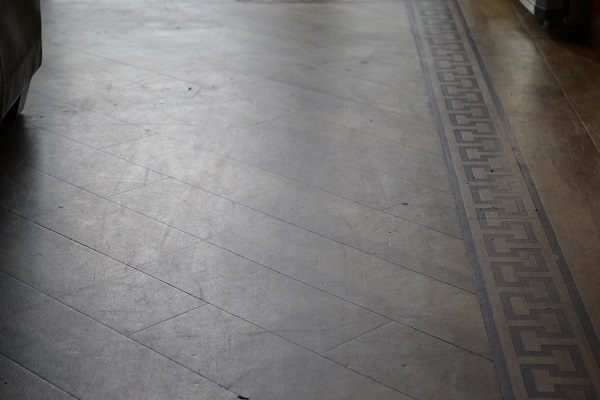
On closer inspection I realised the ‘grey’ look was probably because the entire surface was literally covered with tiny scuffs.
Mopping alone is clearly not good enough to maintain this type of floor in the long term. Dings and deep scratches I know can’t be put right, but I thought that if all those pesky surface marks could at least be got rid of and a little sheen added, I would be very happy.
So I was really excited to try out the Karndean floor care kit that was kindly gifted to me, to see if it could maybe restore a little of the lustre that was lacking.
There are a few stages to the process so I set aside an evening when I knew I’d be alone (the boys all went off to Wales overnight so it was the ideal opportunity!)
Apologies therefore for the following ‘night time’ photos with the flash, they’re never as pretty as daylight shots!
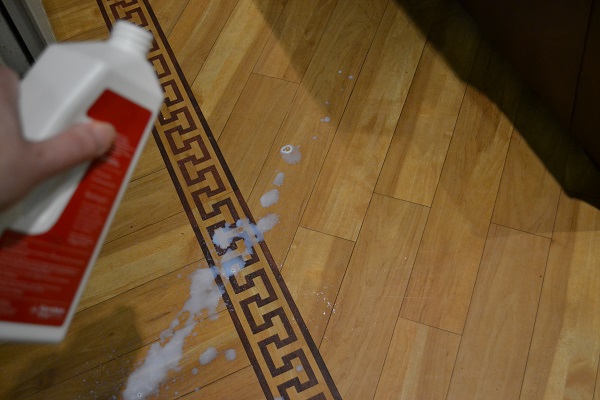
First, I mixed up a solution: 200ml ‘Remove’ in a litre of water…
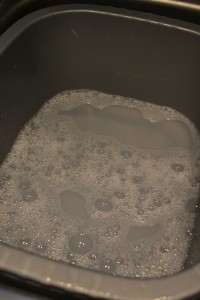
…and applied it liberally all over the floor with a mop. The instructions tell you to leave it to work for 5 minutes and not to let it dry on.
Once you’ve done that, you pop the rough textured pad on to the blue applicator tool, which are both supplied in the kit.
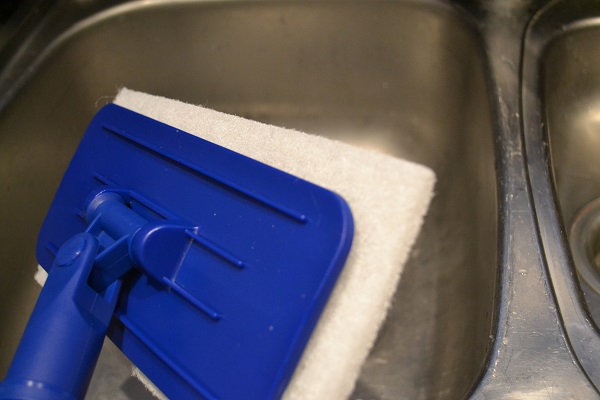
I then scrubbed all over the floor with this rough pad and mopped off the residue with a clean damp mop.
After leaving it to dry thoroughly, I could get busy with the fun part – the ‘Refresh’
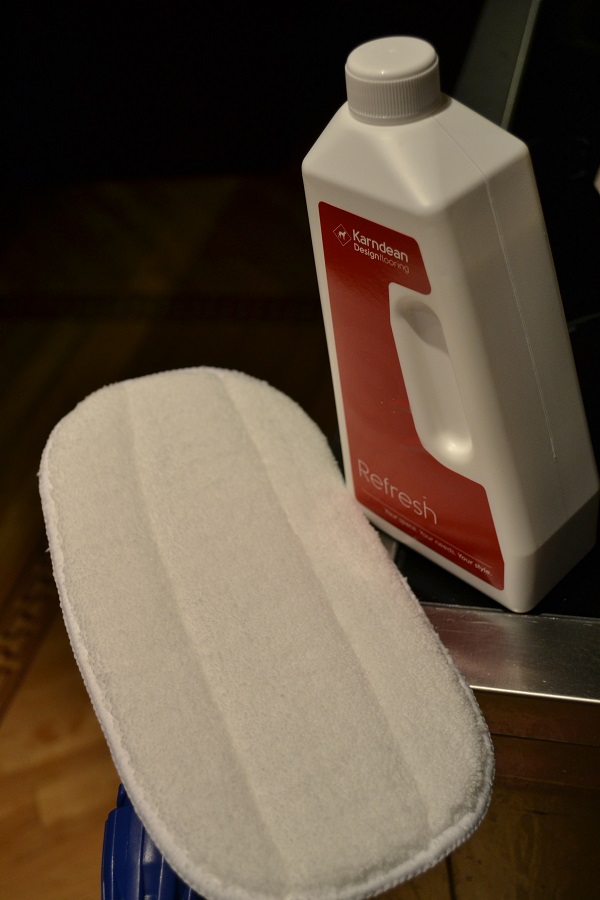
I squirted it onto the floor and spread a thin layer all over, now using the soft and fluffy pad provided and going in one direction only (sideways across the room). The Refresh is milky and pleasant smelling, it was satisfying smoothing it on and I felt like it really was conditioning and feeding the floor. After waiting 30 minutes, I then applied another thin coat of Refresh, but this time going lengthways over the floor.
The instructions say to leave it to dry for at least six hours or overnight, which is exactly what I did.
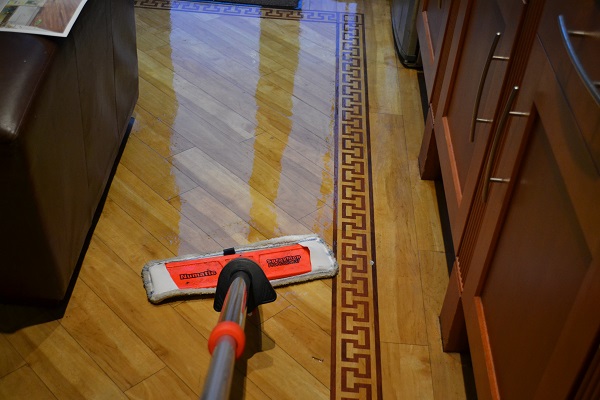
Next morning I was really pleased with the result! There was a nice, subtle sheen and the floor looked extra clean and conditioned.
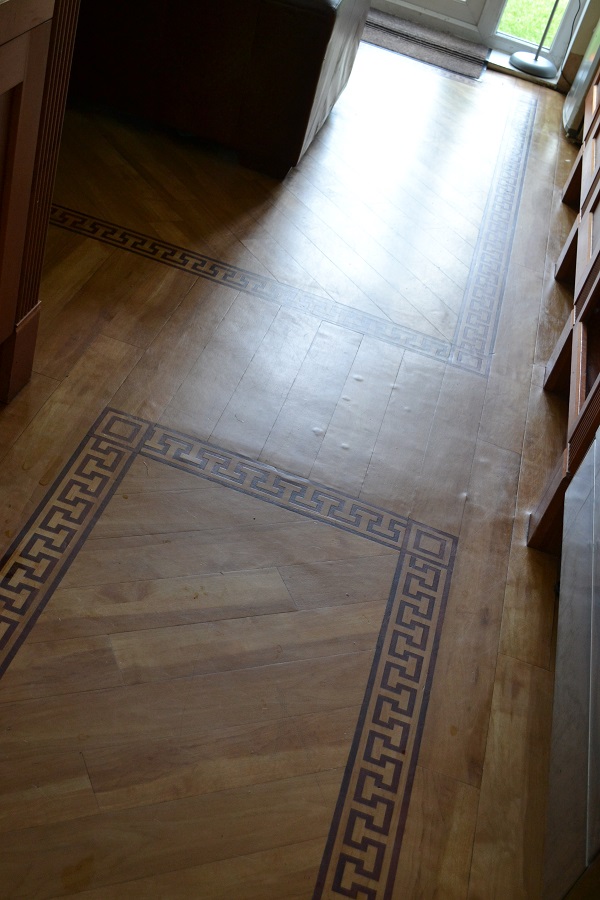
I was impressed with how those lighter scuff marks had all but disappeared.
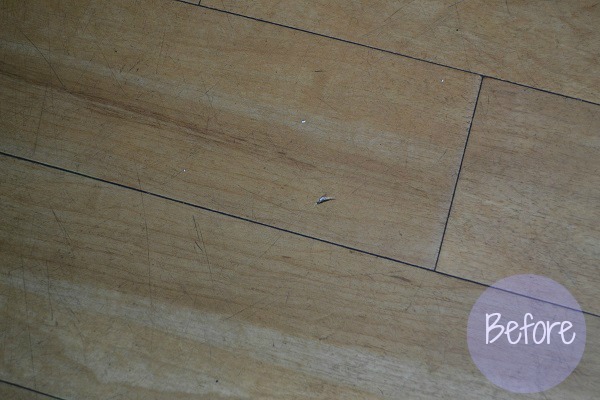
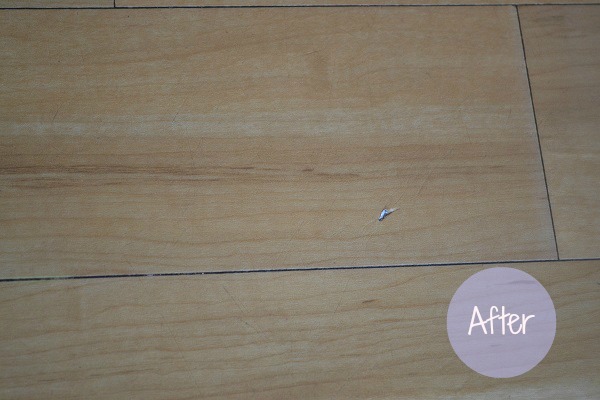
Also, there had been a smudged bit of glue from where we’d had a small section of Karndean fitted in more recent times after our kitchen alterations. It really bugged me and normal mopping just didn’t have any effect on it.
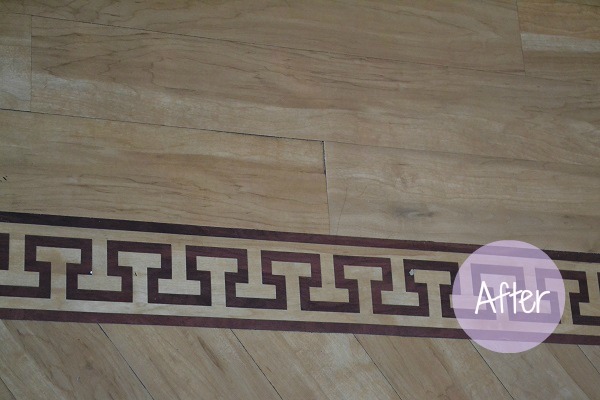
But the care kit sorted it – it looks a lot less noticeable now!
I’m really very pleased, the results are even better than I hoped for. I think this kit will keep the floor looking good for a long time, because I didn’t use much out of the bottles and you only need to repeat the process every six to twelve months. I will clean the floor regularly in between with the bottle of Karndean ‘Clean’ that came in the kit.
Yep – very chuffed with the outcome! Thanks so much to Karndean for supplying their care kit free of charge to allow me to test it out and write a review.

© Copyright Antonia, All rights Reserved. Written For: Tidylife

Great floor, love the greek design. The after pictures look much much better! I don’t know if this tip would work on vinyl as it works on wood (tables/floors etc.) but for a quick scratch fix you can rub a walnut on scratches, works great on the coffee table and floor, especially when guests are coming over on short notice!
Love the desighns! we had our Kardean flooring fitted not too long ago and its stunning, we choose Kardean losselay dark oak and it looks very modern in our new home.
Love the designs! we had our Kardean flooring fitted not too long ago and it’s stunning, we choose Kardean losselay dark oak and it looks very modern in our new home.