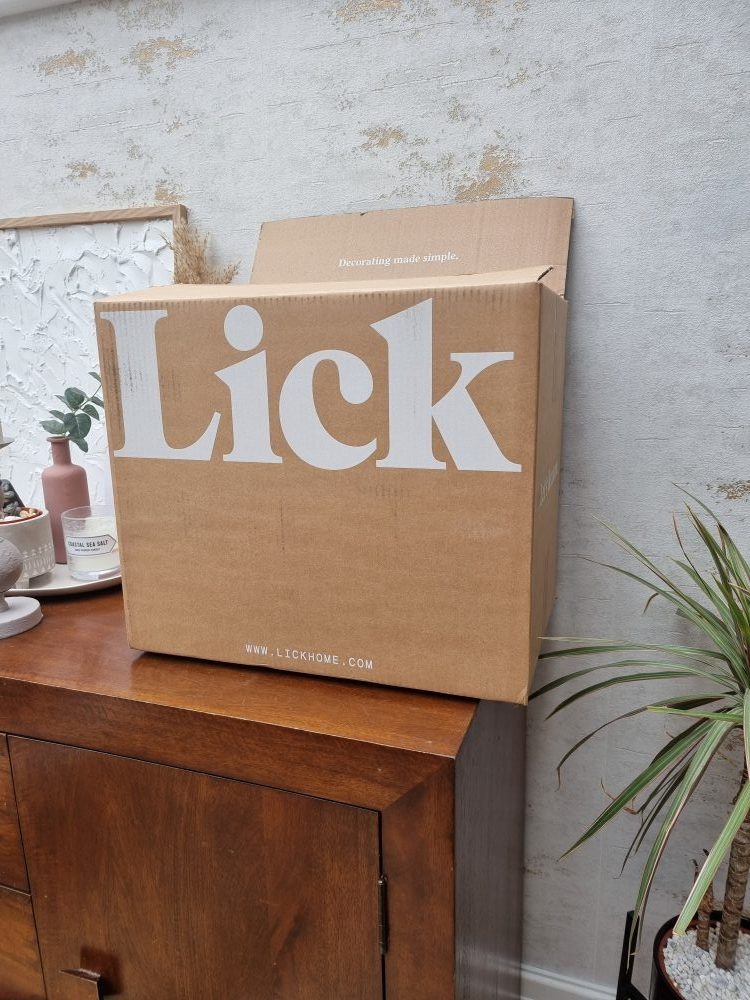
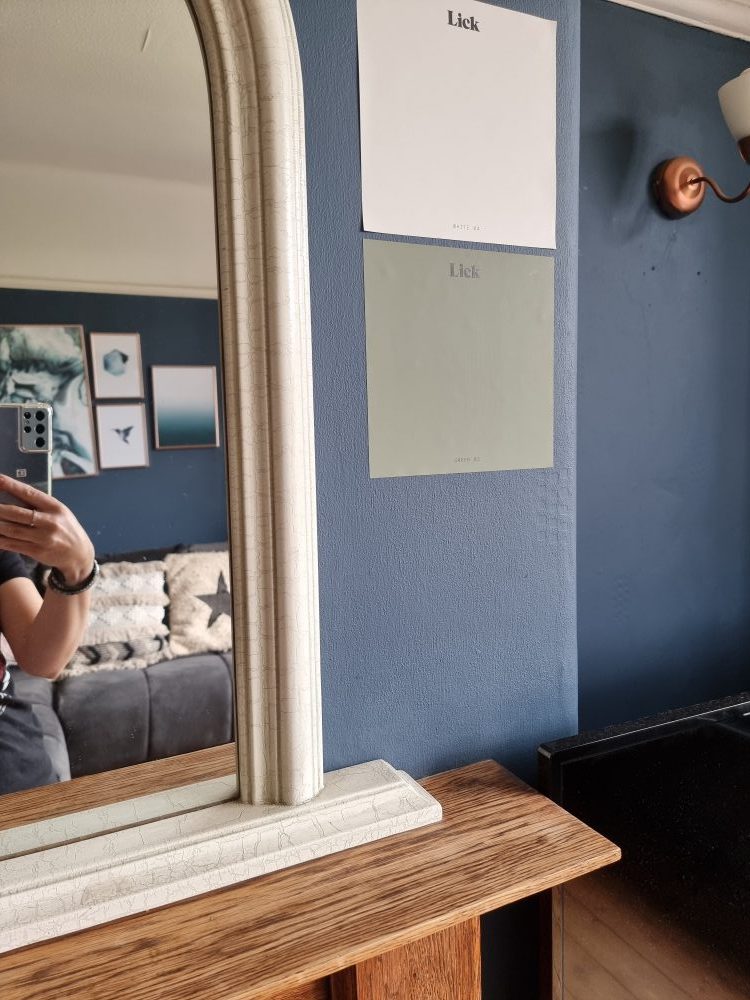
This is the second time I have used paint from Lick for a decorating project in my home and I have enjoyed using it just as much as I did previously in our hall makeover.
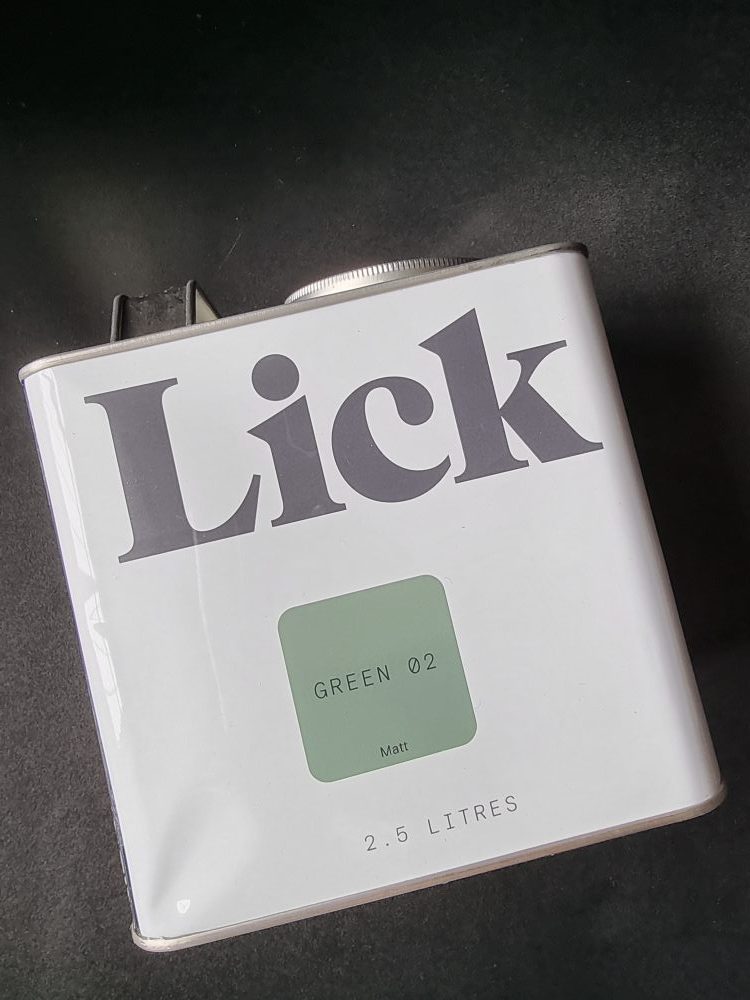
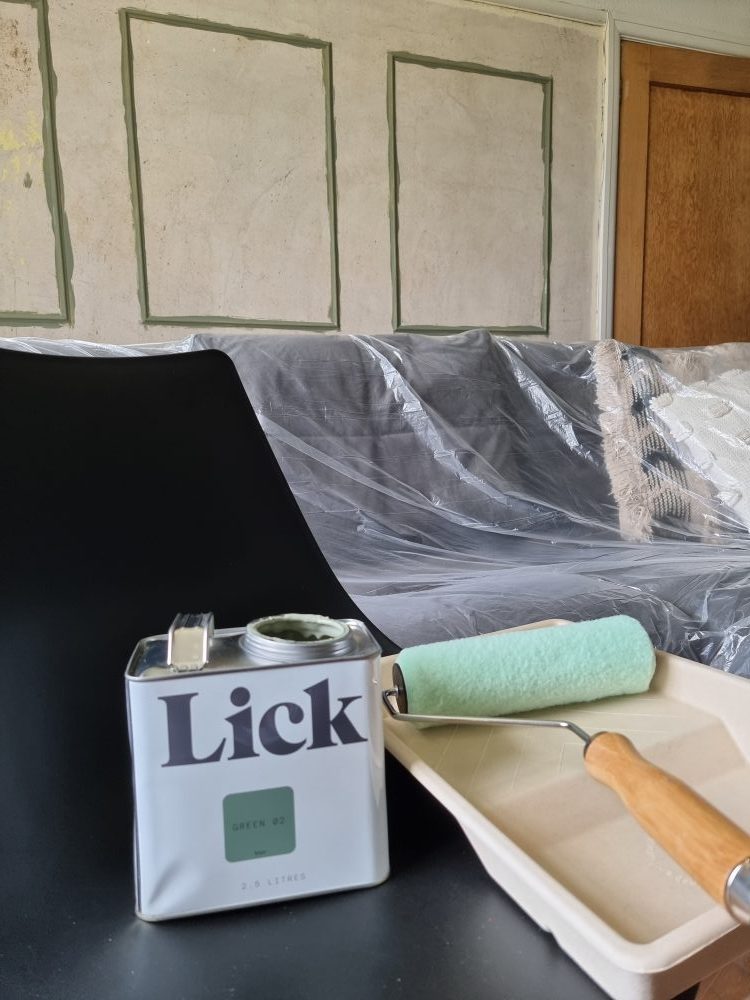
The colour I was keen to try this time is the soft sage Green 02 with a hint of blue and grey. Choosing the matt finish (there is an eggshell version too), this pigment rich paint went on my wall like a dream, giving it a flawless almost velvety finish. The second coat really sealed the deal in terms of a professional and smooth appearance. The paint has great wipeability and is a low VOC water based paint.
I also received a very handy single room painting kit with eco friendly supplies; a recyclable paint tray, a luxurious wooden paint brush for cutting in and a wooden roller frame with microfibre roller, as well as a roll of masking tape.
Peel & Stick Samples
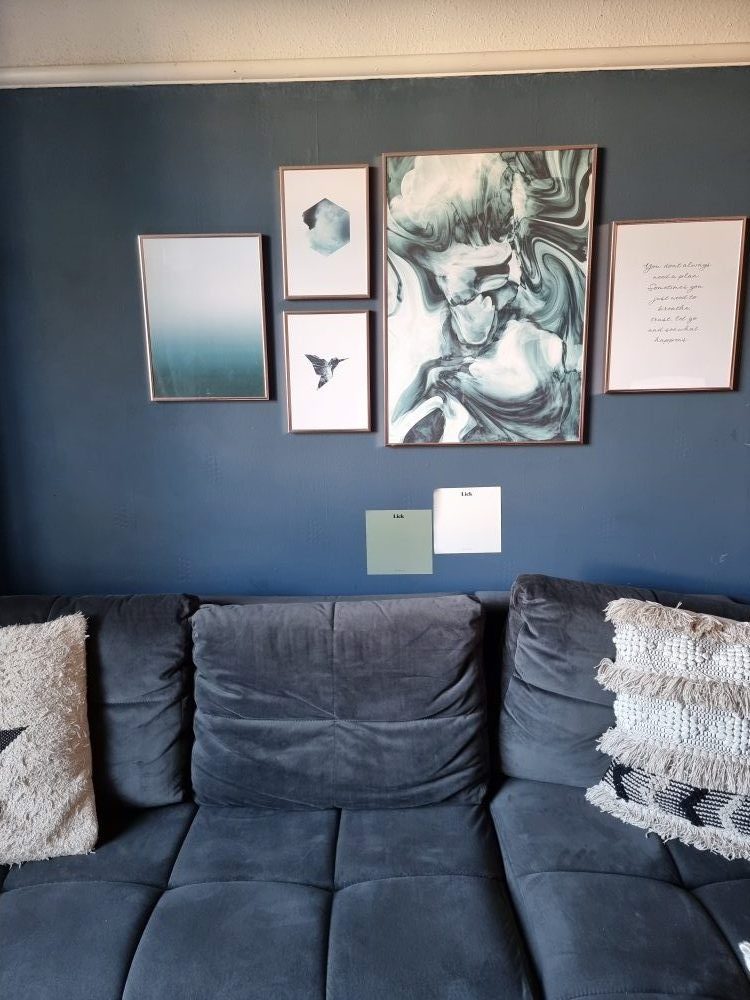
Lick’s peel and stick samples make it ultra easy to try out colours in your home. They can be peeled off one wall and stuck to another several times over, so you can get to see the colour in different lights, angles and rooms. So much more convenient than old fashioned tester pots.
Creating My feature Wall Panels
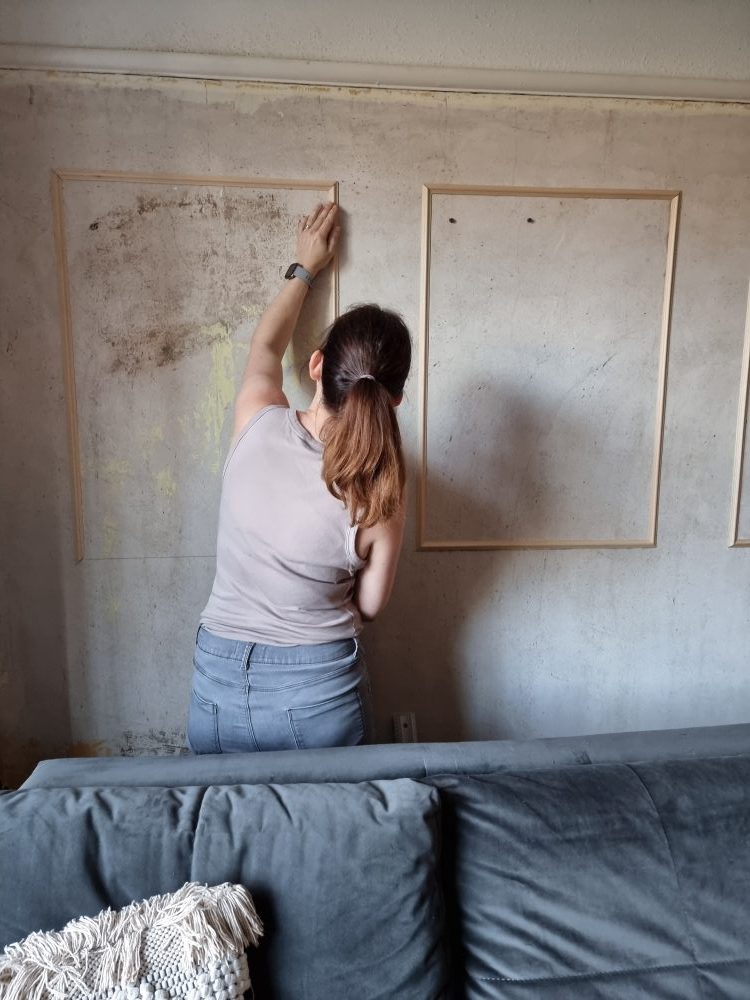
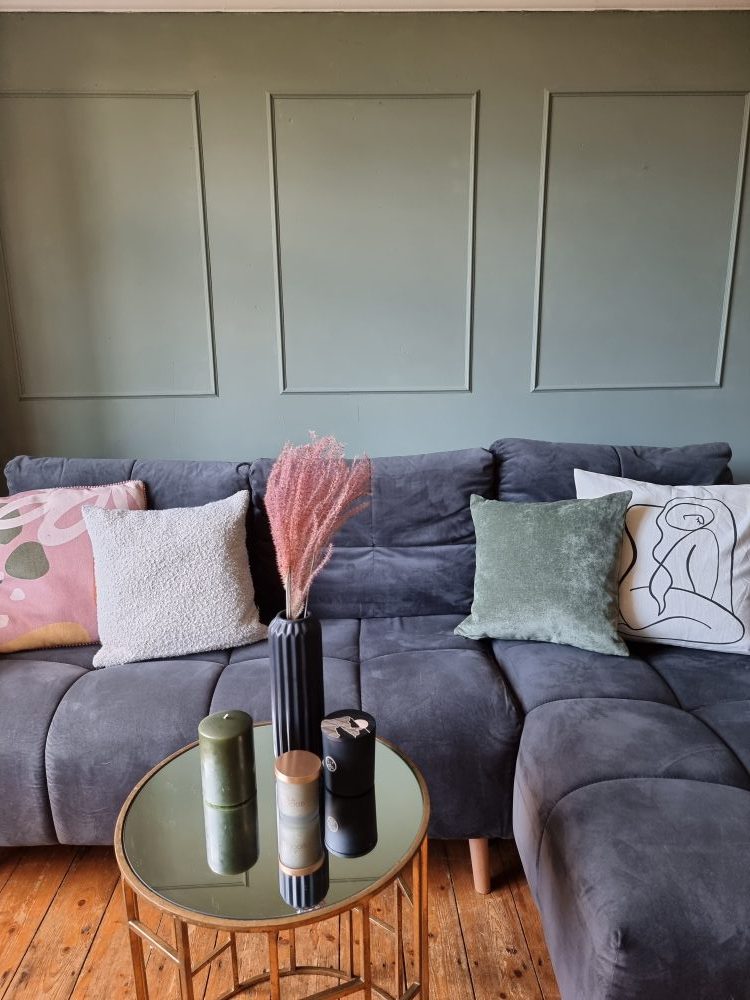
Before I could get down the fun part of putting paint on the wall, I really wanted to try the wall panel trend which is proving to be very popular in home interiors right now. I opted for a ‘less is more’ style when it came to my panels. Although the chunky MDF square panelling can look amazing, I wanted a pared back look which feels a bit more traditional perhaps in an older property. (Not going to lie, I also knew this style would be easier for me to create!)

I purchased some of this decorative wooden moulding from Wickes. Four lengths enabled me to create 3 panels sized 87cm x 62cm with minimal wastage.
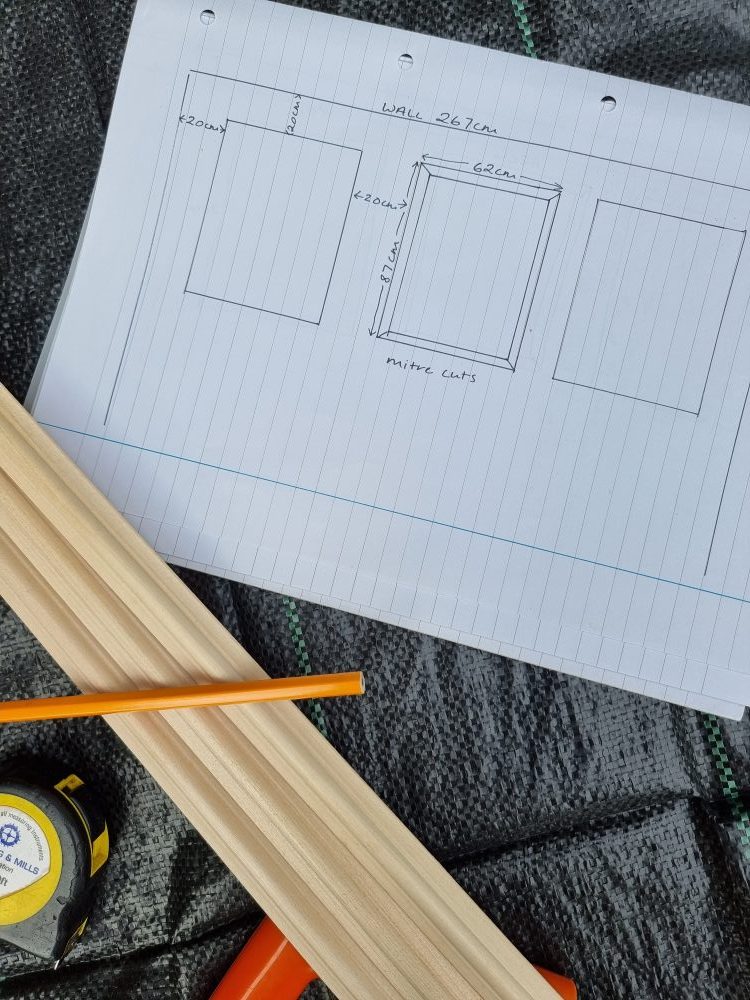
I measured the wall and worked out the best fit for my three panels. There was approximately a 20cm gap between the panels and around the wall so I was confident it would look nice and symmetrical. As the sofa covers the lower portion of the wall I haven’t bothered creating any lower panels.
All you need to cut the angles to form your frame is a wood saw or hack saw and a mitre block. I’ve used a plastic block before and a wooden one and must say I prefer the wooden one. This is the one I used from B&Q.
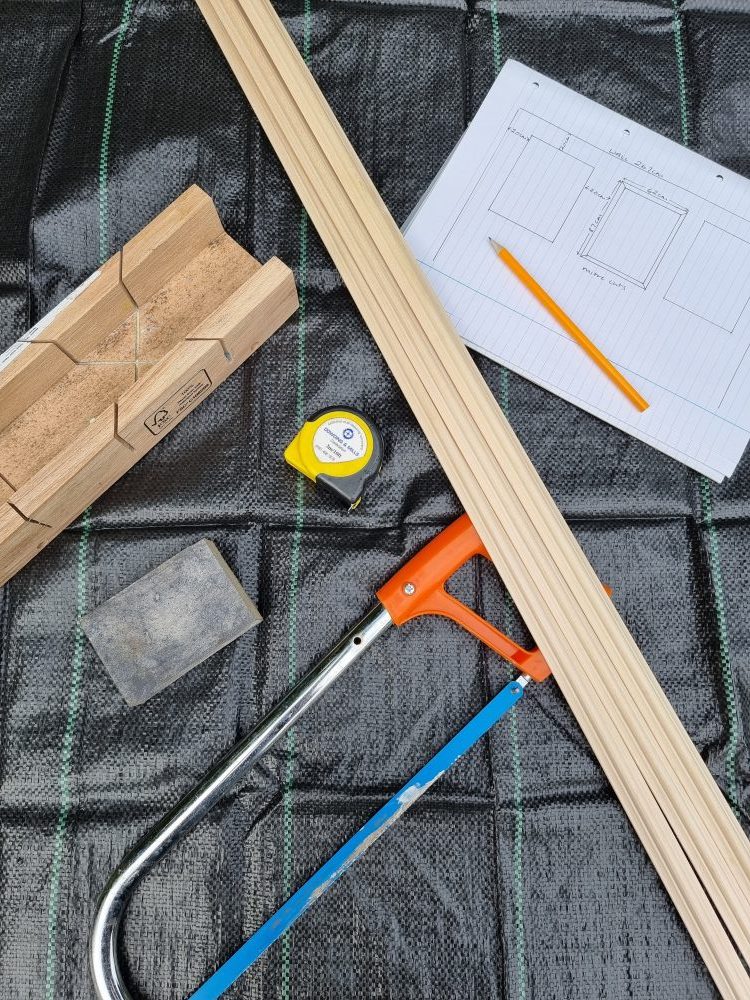
My best tip would be to measure everything at least twice. When it comes to cutting the angles, mark a line on the wood in pencil, in the direction of the cut, so you don’t make the angle the wrong way.
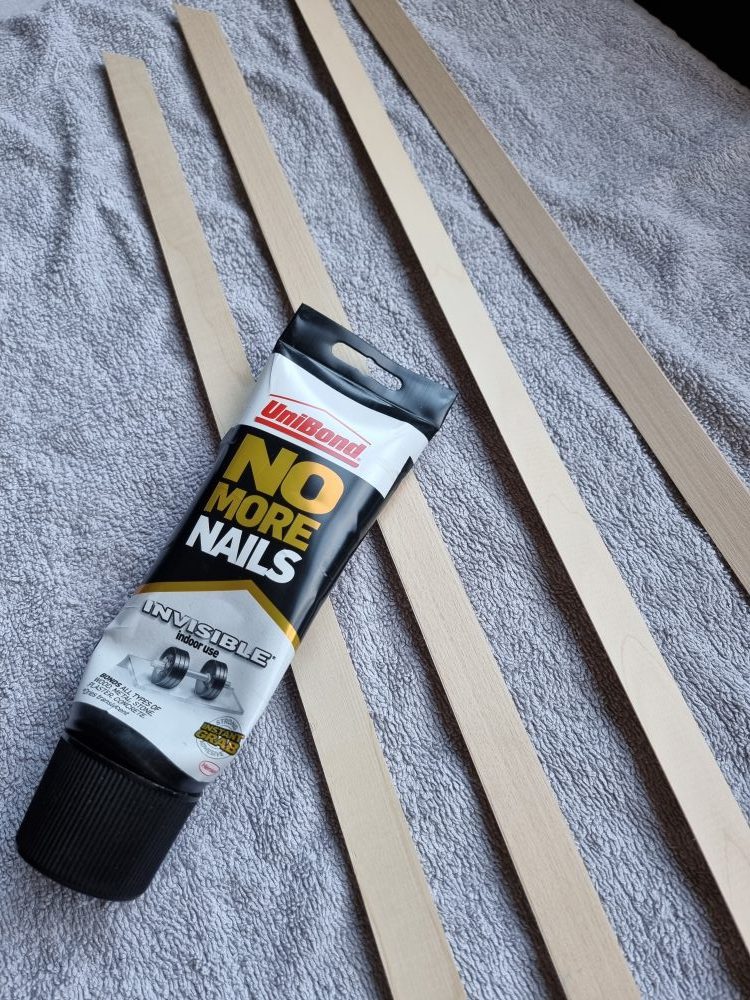
The mouldings are very light so to fix them to the wall I just used No More Nails and, having drawn the panels on the wall in pencil, it was straightfoward to stick the lengths of wood to the wall. I made sure they were straight with my spirit level.
Fortunately our wall didn’t seem too wonky so there were no gaps between the wall and the moulding and I therefore didn’t need to use any decorators caulk, but you could run a bead around the frame if necessary and wipe with your finger for a neat finish.
I let the panels cure overnight and the next day couldn’t wait to get the paint on.
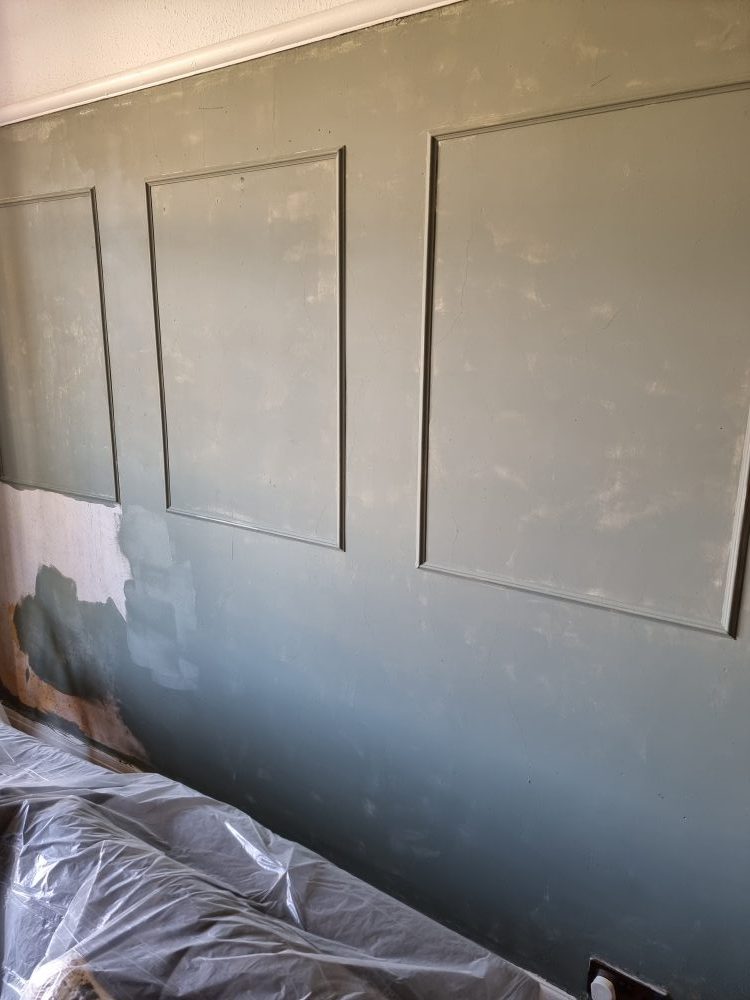
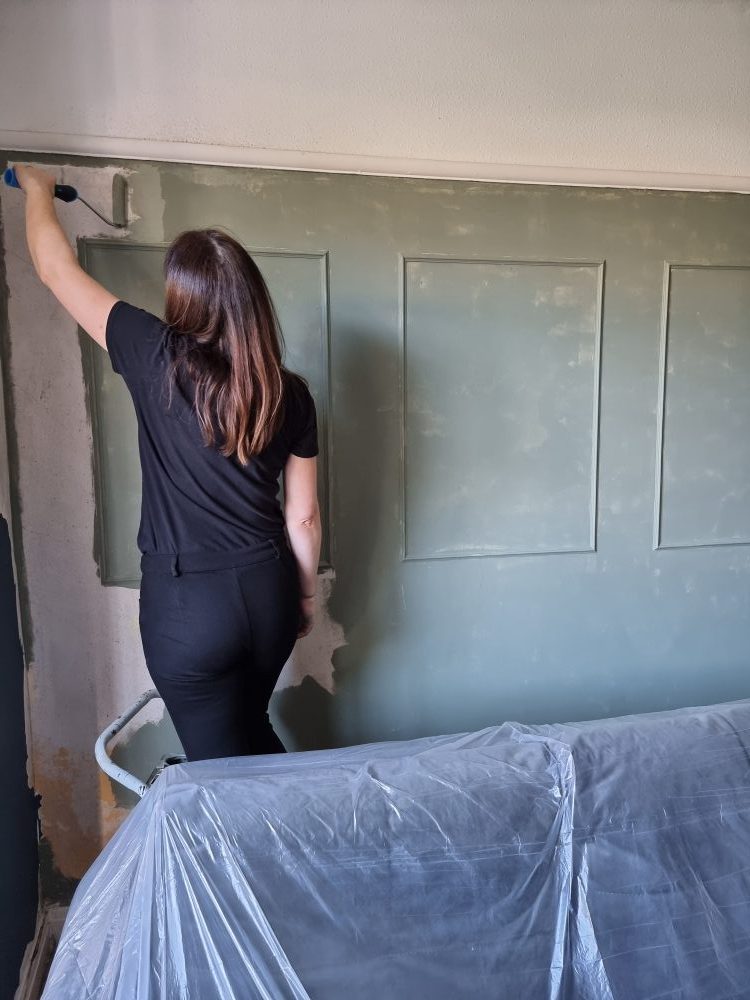
I started by applying the paint to the wooden mouldings using the brush supplied by Lick and also used it to cut in around the edges of the wall. Then it was a simple case of applying the paint to the wall with the roller and tray. For the narrower parts I used a mini roller which worked like a dream. Two coats was all it took to get a really smooth, even and professional looking finish.
Considering this is an old wall, which I had thought might really need skimming, it looks absolutely flawless now with the paint on! I think the velvety flat matt texture of the paint does a great job at hiding imperfections.
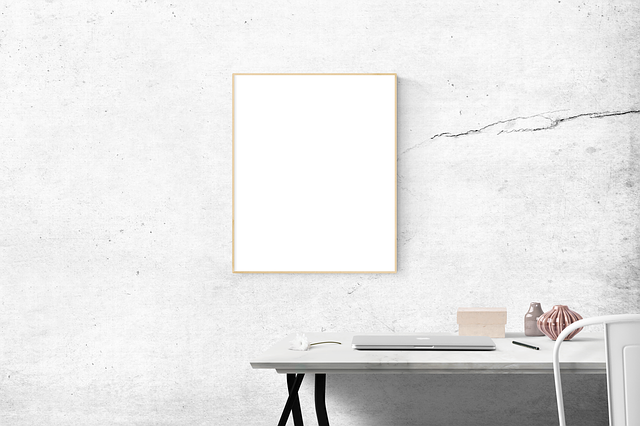
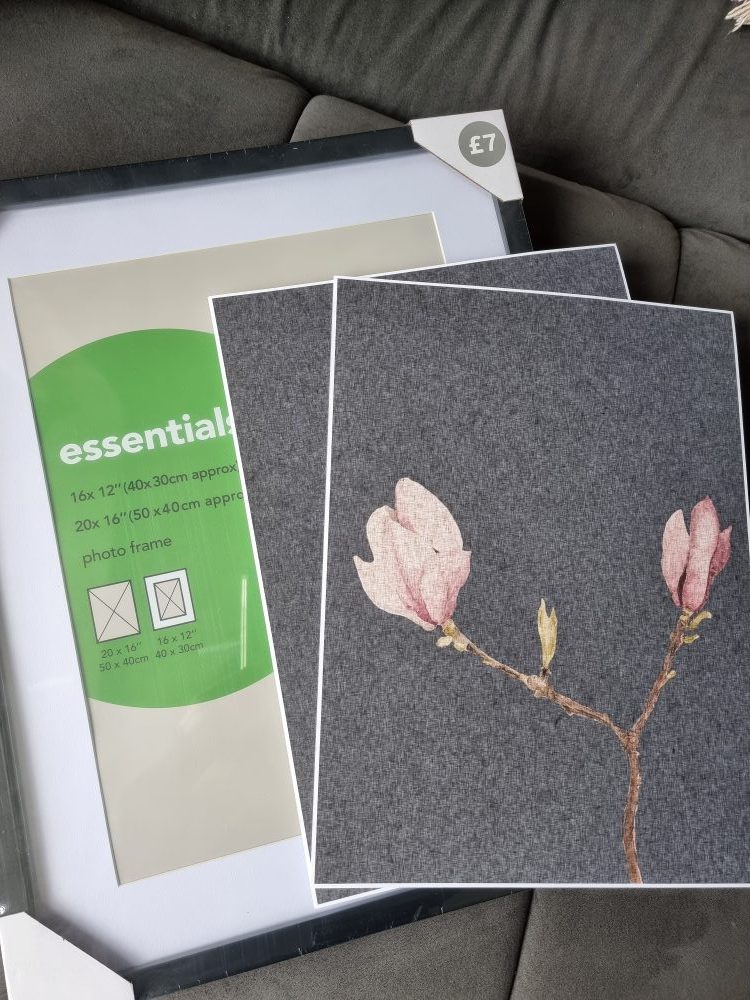
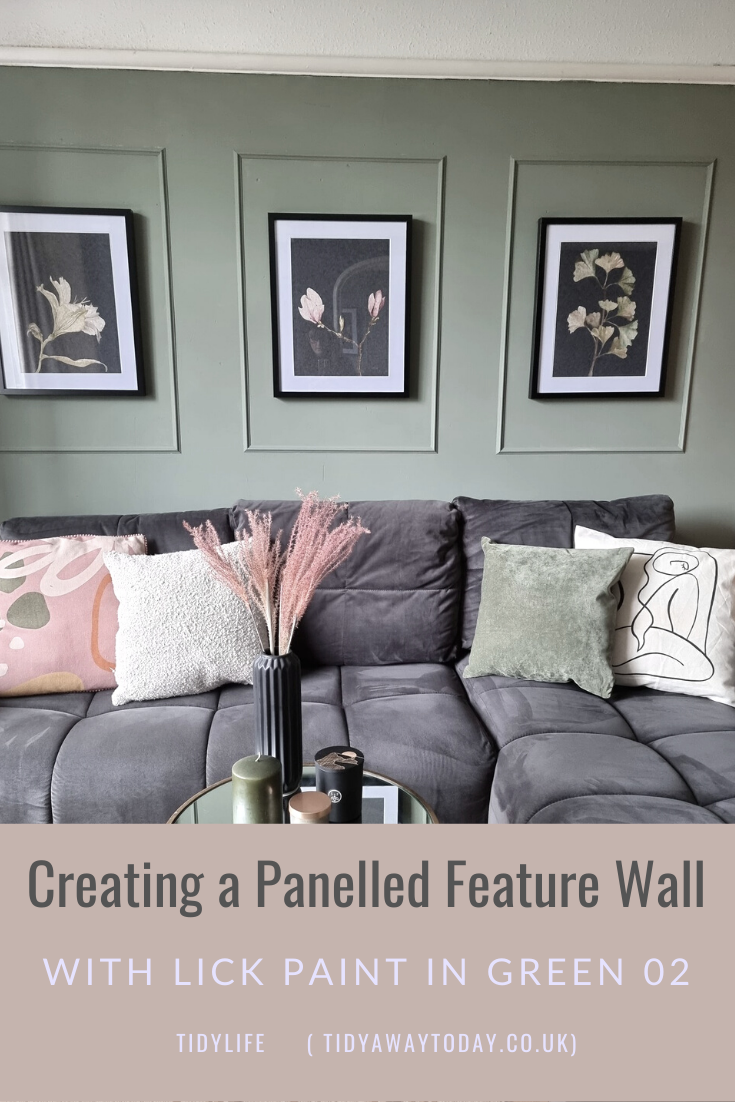
The panels look good as a feature on their own, but I fancied adding a little artwork to them, having seen some nice botanical prints online that I thought could work really well as a final finishing touch for the wall. I bought them from Abstract House and framed them myself with frames from Dunelm.
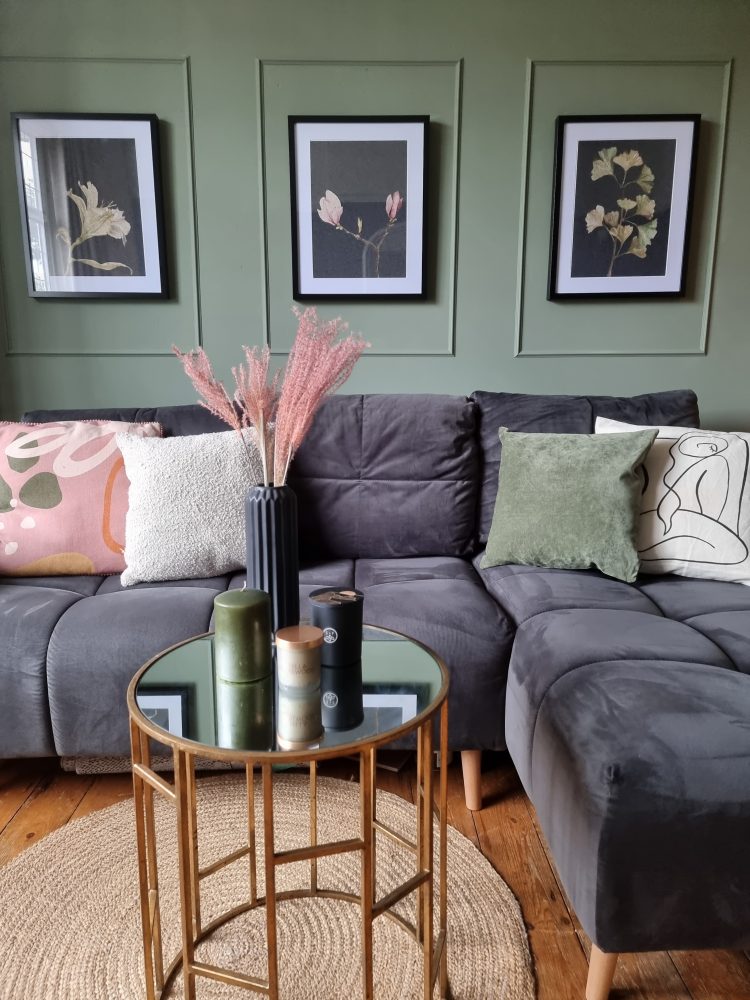
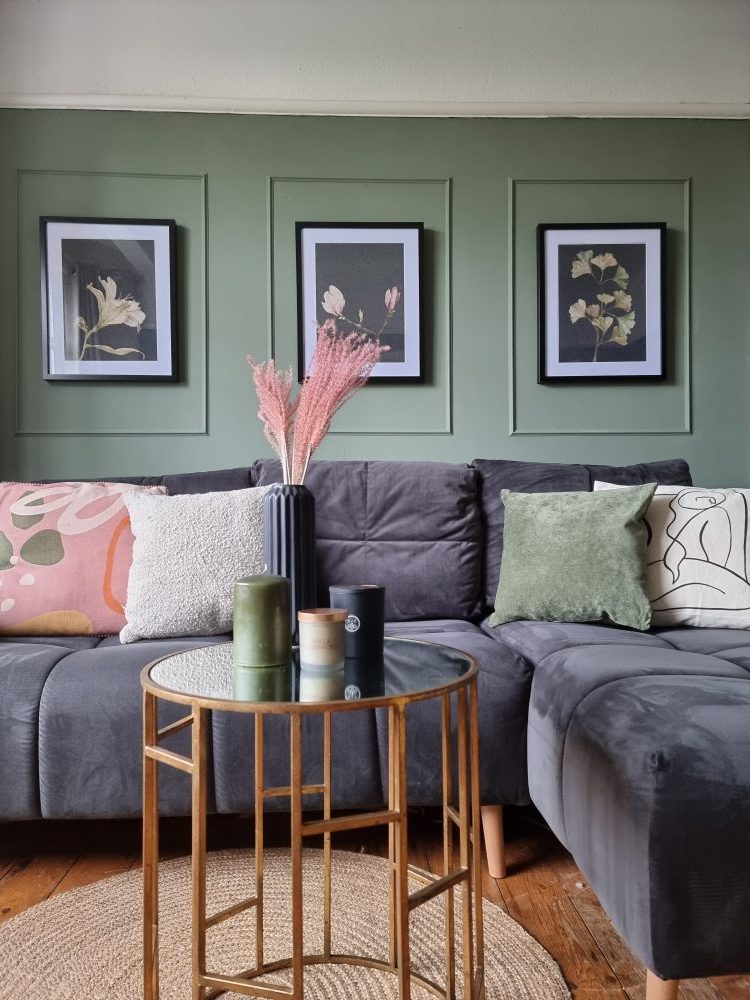
I think the Green 02 paint would have looked great on the wall anyway, but the framing and artwork gives it the edge. I’d love to know what you think!
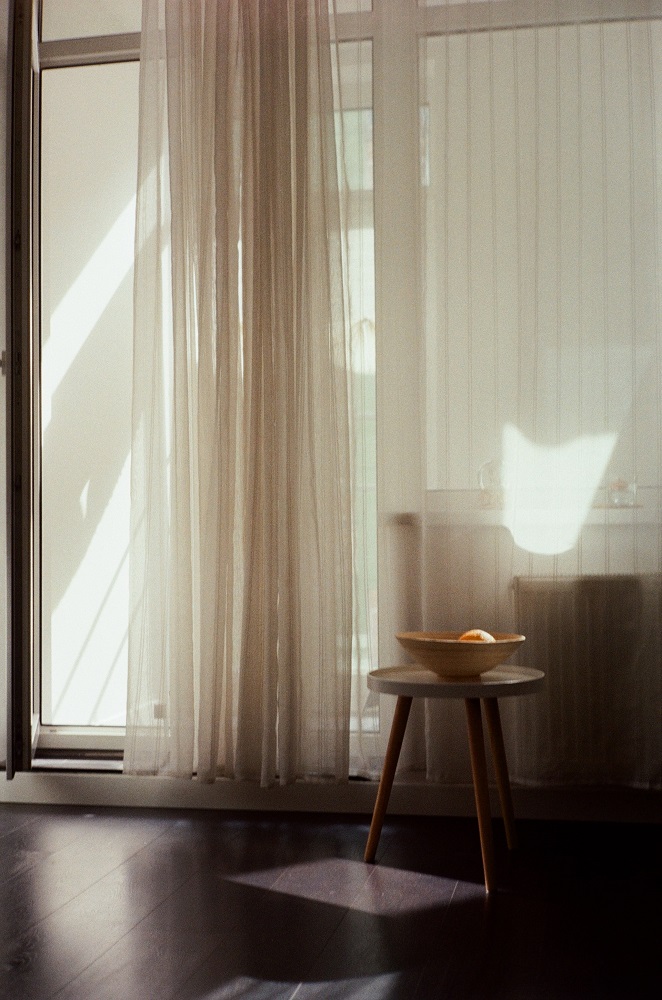
The room makeover is still underway, I have some more decorating to do and need to add new window dressings and new flooring in here eventually too! However with my stylish panelled wall I now feel ready to tackle the rest.
What do you think about panelled walls, would you have a go at creating one yourself?
Why not pin this post for later:
Collaborative post
© Copyright 2021 Antonia, All rights Reserved. Written For: Tidylife