With the cost of energy being what it is these days, there’s never been a better time to install a ceiling fan. Ceiling fans can drastically reduce your dependency on energy and reduce your carbon footprint in the process. And, as long as you already have the proper wiring in place, you don’t need to call a sparky to have one put in. Just follow these steps and you’ll soon be feeling much cosier with a ceiling fan to circulate air in your home.
Shut Off Power to the Circuit You’ll Be Working On
Before you commence working on your ceiling fan installation, go to your electrical panel and turn off the circuit you’ll be working on. Double-check that the circuit has been turned off by trying to turn on a light in the room or by using a voltage tester on the circuit.
Remove the Old Light or Fan
Once the circuit has been turned off, you can safely remove the old light fixture or ceiling fan from your home. If you’re removing a ceiling fan, make sure you do it in pieces. Ceiling fans are heavy and you probably don’t want to have to manhandle an entire one down from the ceiling. Take off the blades and then, if it’s large, remove the light fixture.
Small light fixtures are much easier to take down than ceiling fans. Remove the light cover and the light bulbs. You should be able to see screws in the base of the light fixture that secure it to the junction box. Remove those screws and pull the light fixture down. This will help you access the wiring connections, which you can unwind. Remove the ceiling mounting plate and set the light fixture aside.
Install a Fan Brace If Needed
Most of the modern ceiling fans you can buy have built-in light fixtures, so you needn’t sacrifice ambient lighting for cool, comforting breezes. That said, if you’re going to replace a light fixture with a full-on ceiling fan, you’re going to need to install a fan brace in your ceiling, unless you’re lucky enough that the joist itself runs directly above where you’re hanging your fan (and, if that’s the case, you can anchor the fan directly to the joist).
If you can’t access your ceiling from above, buy an expanding metal fan brace that can be inserted from below, through the hole in your ceiling. If you can access your ceiling from above, cut a piece of lumber to fit between the joists and anchor it in place with screws. You can secure a fan-rated junction box to the fan brace.
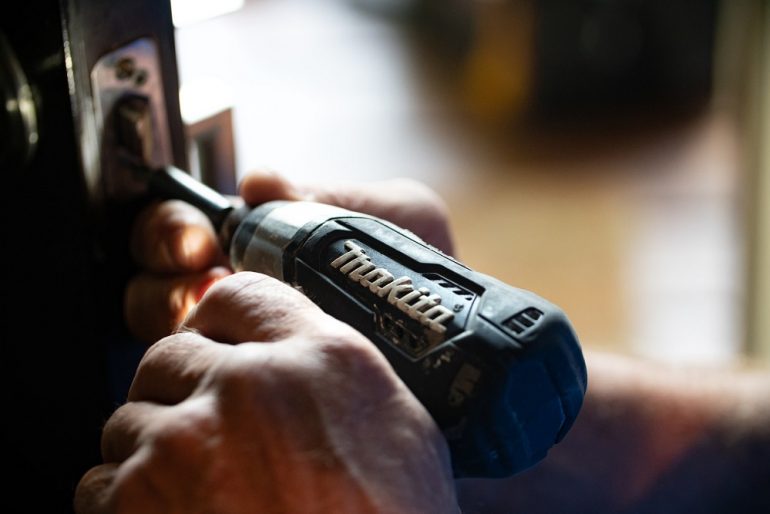
Wire Up Your New Fan Motor
Before you begin to assemble and install the fan, familiarize yourself with your fan’s assembly instructions. Different fans have different assembly instructions, depending on the style of the fan. Generally speaking, you will need to secure the ceiling mounting plate to the fan-rated junction box you have installed in your ceiling. You may need to attach a downrod to the top of the fan motor, or, if you’re installing a flush-mount fan, you may need to attach the fan canopy directly to the motor housing.
Most of the time, you’ll find a hook on the ceiling mounting plate that you can use to hang the fan motor assembly to one side while you make the wiring connections. You will find three wires coming out of your fan and out of your ceiling: a brown (live) wire, a blue (neutral) wire, and a green (earth) wire. Match up the wires so that the blue wire coming out of your fan connects to the blue wire coming out of your ceiling, the brown to the brown, and the green to the green. Secure your wiring connections with insulation tape. Attach the fan motor housing to the ceiling mounting plate and secure it.
Put on the Fan Blades and Connect the Light Fixture
Now that the fan motor is assembled and installed, you’re almost finished! You just need to connect the light fixture, if there is one, and attach the blades to the fan. The light fixture will either plug right into the fan motor housing, or else you will need to connect the wiring the same way you wired up the fan motor. Then you can attach the fan blades to your fan. When everything is assembled, go back to your electrical panel and turn the power to the circuit back on. You’re ready to try out your new fan!
Featured post
© Copyright 2022 Antonia, All rights Reserved. Written For: Tidylife